iOS Equal Width Auto Layout Tutorial
Recently, I needed to figure out a way to get two views to equal width spanning the entire width of the screen. I’ve created this tutorial to show you how to create symmetrical views.
Step 1: Create a new Single View Application
Once you’ve created a new application, click on the root in the project navigator. In General, uncheck everything except Landscape Left. This part is optional.
Step 2: Create Views
Drag a view onto storyboard.
Resize the the view.
Ctrl + D to duplicate view.
Go to the attributes inspector in the upper right to change the background color. (optional)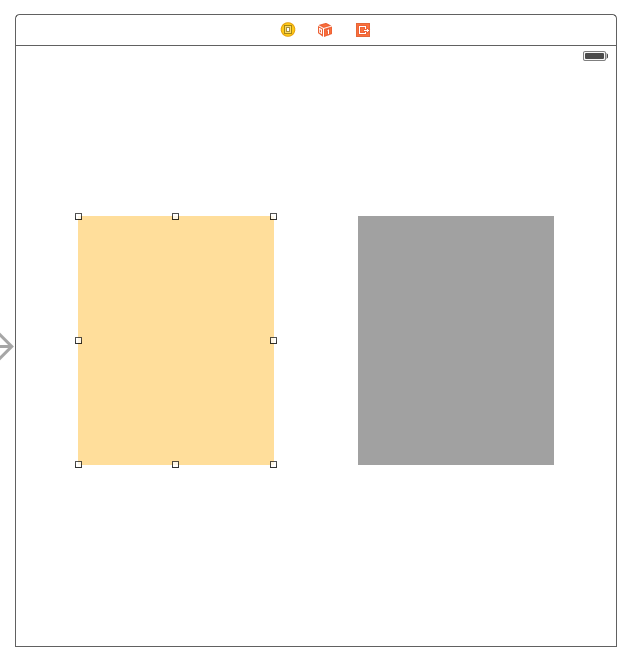
Step 3: Add Constraints
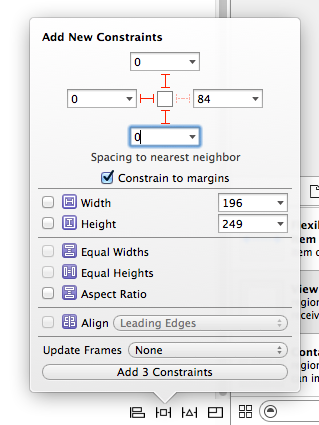
Click on the left view and use the pin menu to add constraints to the superview for the top, left, and bottom and set to 0. Click on Add 3 Constraints.
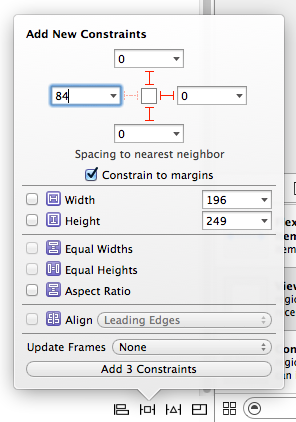
Click on the right view and use the pin menu to add add constraints to the superview for the top, right, and bottom and set to 0. Click on Add 3 Constraints.
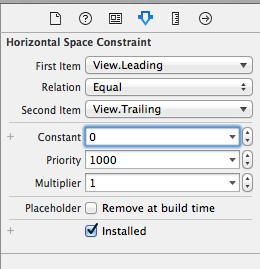
Control drag from the left view to the right view to set a constraint. Select Horizontal Spacing. Hover your mouse over the constraint line until it is highlighted and click. In the attributes inspector, set the Constant to 0.
If you run the application, you’ll get something that looks like this.
The ratio is off.
Step 4: Add Equal Width Constraint
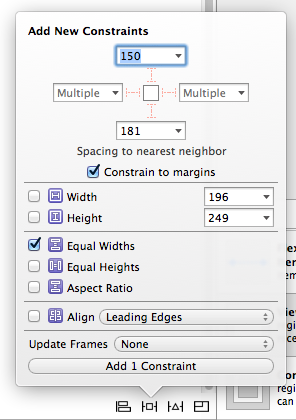
To add equal width constraint, you will need to select both views by command clicking on both of them. Then click on the pin menu and the previously grayed out Equal Width checkbox is now available. Click on that and click Add 1 Constraint.
As you can see there are still some white space on the sides. To get rid of the white space, click on the leading constraint, and uncheck Relative To Margin for Second Item. For the trailing constraint, uncheck Relative To Margin for the First Item.
If you run the application, now you will have two equal full width views.
GitHub
https://github.com/travisluong/auto-layout-equal-width-demo
Sources
http://www.raywenderlich.com/50319/beginning-auto-layout-tutorial-in-ios-7-part-2

